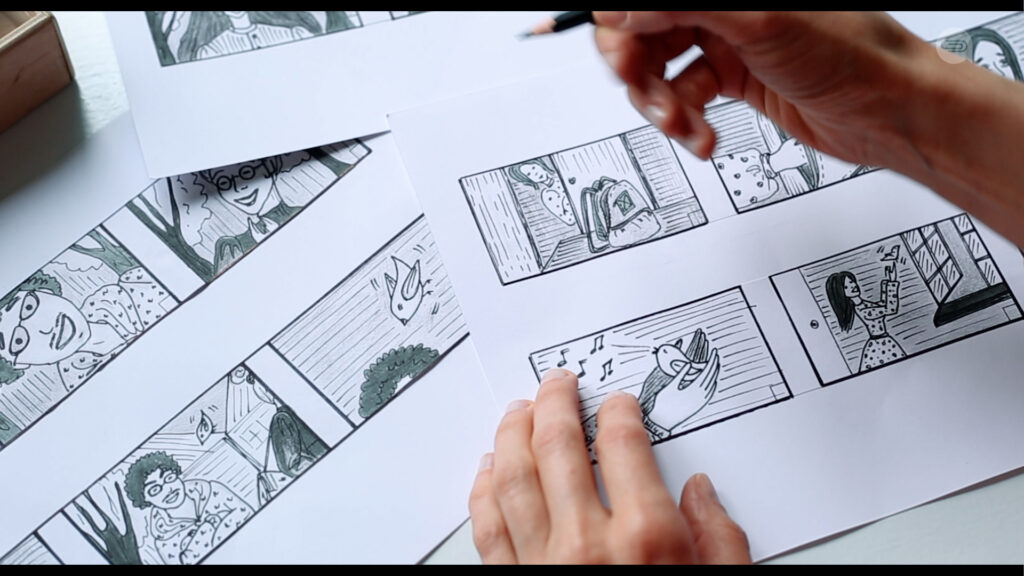
Less stress, less chaos, better videos? What’s not to like about storyboards?
It’s easy to dismiss them as unnecessary or complicated, but they really are a video creator’s best friend. And the beautiful thing is you don’t even need special tools to make one. How cool is that?!
But the thing no one ever tells you about storyboards is that you don’t have to be able to draw like some professional animator. You don’t have to sign up for some expensive subscription and you don’t have to do it the same way everyone else is doing it. As long as you have a format that works for you and helps you plan your videos much better, then go with that one. You don’t have to copy what everyone else is doing.

Why are storyboards important?
There is nothing worse than scrubbing through a video project and realizing you have 20 seconds of voiceover and not much happening on screen. It’s pretty stressful because you’re running around at the last minute trying to find content to plug in this blank space in your video.
The whole point of a storyboard is to help you turn your script or your general concept into a set of step-by-step instructions that describe what’s going on in your video, at any given point in time, and it also contains instructions to describe how you’re going to actually do that. By keeping you organized, a storyboard helps you focus on being creative and making the best video that you can, rather than running around dealing with one crisis after another.
Storyboards help you communicate with clients
A storyboard is also a great way of getting client approval for a project before you start working. You might have certain clients who are really good at visualizing what it is you tell them. But other clients need a little bit of hand-holding and they need things to be presented to them in a visual format where you explain step-by-step what it is you’re actually doing.
With a good storyboard, whether it’s text-based or visual, you have something that you can give to the client that helps them understand the vision that’s going on inside your head.

Another benefit of a storyboard is that it makes it easy to get feedback and approval from the client early on in the process, when it’s still easy to make changes and you haven’t committed too much time to it.
Now, this last point alone makes doing storyboards really worth the effort, because there’s nothing worse than spending a couple of weeks or even a couple of months on a video, putting all this effort in and producing a really cool video and sending it to the client for review, only for them to send you an email back saying…
“Ah, well, hmmm…We don’t like this. This isn’t what we had in mind. This doesn’t really capture the message we wanted to communicate.” At that point, you’re screwed because you can’t un-bake a cake.

So, often what you have to do is tear the video apart, or maybe just start it again from it from the beginning, which no one wants to do. It makes you look bad, it stresses everyone out and you’ll probably miss the deadline and lose a client.
It’s not just about paperwork
Now you might be thinking, “Ugh god, it sounds like project management stuff…I’m a uncreative I don’t do paperwork, you know like? You can’t put a timeline on creativity.” And you might be wondering whether this is worth it. Yes, it is worth it. It’s definitely worth it. And you’ll thank me for it later.

So how do you make a storyboard?
OK, let’s assume I’ve managed to convince you that producing storyboards is actually a good idea. The reality is that even though every video producer worth their salt uses them, there’s no universal way of doing it. Now, this is a mixed blessing because on the one hand, when you’re trying to figure out how to do a storyboard, there’s no standard to aim for and no standard to learn how to use. But on the other hand, because there’s no standard you can make whatever format you want as long as it works for you.
This also means that your storyboard can be completely text based, or it can be visual depending on producing or whether you’re working with a team or just yourself.
Now I’ve tried lots of different tools to create storyboards. Some were very fancy, some were very basic. But these days I tend to use word or PowerPoint Don’t laugh!
The text-based storyboard

If you’re dealing with customers or colleagues who are good at visualizing things, or if you’re just producing the storyboards for yourself, you can make do with a text-only version of a storyboard in Word.
Now, in this kind of storyboard, I set the page to landscape orientation with narrow margins, and then I add a table with columns for scene, voiceover and multimedia or visuals. The columns you have are going to depend on the kind of video that you tend to make.
You might make different types of video, so it might make sense to have a different storyboard template for each type of project. I start by breaking my script into chunks and then pasting each chunk into an individual cell. It’s tempting to put big chunks of related text together, but I tend to break scripts into smaller chunks, especially if I’m going to have animations or fast moving cuts.
Ideally, what you want to do is break the script down into shots and put one shot’s worth of script in a single cell. On projects where you have interview footage, or lots of talking head footage these chunks can be bigger because the shots themselves are going to be longer and there’s going to be less variation in the content. You won’t have as many changes on screen as you would with an animated video.
I group shots into scenes using the first column and depending on my mood a leader number the first shot in the scene. I leave the rest blank or I’ll number each shot with the scene number and a second identifier like 2.12.2, 2.3 or 2a, 2b, 2c and so on. The whole point is to make it easy to find a particular shot in your storyboard without having to do much reading or searching.
Adding production notes
Next, I do the most important bit, which is explain what’s supposed to be happening on screen. I’ll describe the kind of music that I want playing, what visuals I need or any animations or effects that are going to go into that particular shot. The descriptions should be added in the order they will appear on screen.
Sometimes I’ll paste a picture in here or a link to a video, whatever it is I need to remind myself of what it is I’m planning to do While I’m producing the video as I complete each shot, I colour code each row so I can see exactly what I’ve done and how much more I have to do.

Trust me, there’s nothing better for making you feel like you’re actually getting somewhere on a project than a storyboard that’s full of green rows.
The visual storyboard

Creating a visual storyboard in PowerPoint is really useful if you want to share it with a client, and it’s even more useful if that client needs help visualizing content that you tell them about.
It’s probably not as compact or as easy-to-use as a text-based storyboard in Word, but it’s a useful collaboration tool and it does help you get over those hurdles of selling your ideas or pitching your ideas to clients. With this type of storyboard, you use the notes pane to write the script, as well as any production notes and explanations that you might have.
You can then use the main slide either as a sort of mood board with images and videos showing what you’re aiming for, or you can create simple animations and layouts to show what’s going to be on screen.
When it comes time to share the storyboard, you can either send the file directly to the client along with some notes on how it all works, or you can save the file as a PDF with the notes displayed and then send that instead. And that’s it.

If you just remember one thing
Just remember that first and foremost, a storyboard is a tool to help you work better. It’s there to help you be more organized and work more systematically. So that means you own it and you can customize it and do it whichever way you want. As long as the information is in there, that helps you work to the best of your abilities.
So, whether it’s helping you work more efficiently or whether it’s helping you pitch ideas or get feedback from clients, use a storyboard whichever way works for you and your particular context. And don’t over-engineer it or you’ll never use it. Make sure there is enough flexibility in there that it can adapt to whatever project you’re working on and make sure you will actually find it useful.


